I believe that we all can say that our hair is part of our beauty and our expressive medium. When we get our new, neat hairdo, we are on top of the world! Whether you choose to have your hair loose- natural, in locs, relaxed, long, short, straight, or curly, you sure do want it to look good “for you”.
Some of us use products to help with our styling and gels and mousses are among those popular products used. Some of those gels are damaging to our hair though, and leave it flaky and “nasty” looking. What’s the point then if your hair is not healthy?
I have a simple gel recipe that is good for your hair and will still give you that neat, shiny, and beautiful look that you are looking for! “Your do it yourself flax seed nourishing gel”.
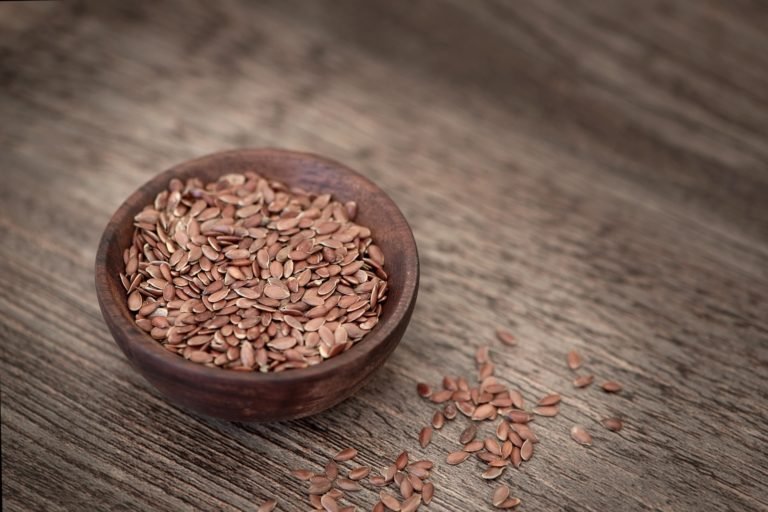
What is flaxseed?
We often use flaxseed in our smoothies and baked products. It is also known as linseed and is one of those new wonder foods. It is an excellent source of omega-3 fatty acids, fiber, and protein. It also contains antioxidants -vitamin E. With properties such as these, it is nothing but great for your hair. It will add moisture, combating dryness and frizz; it will also strengthen your hair.
How long will the flaxseed gel last?
This gel can last up to three weeks with the help of essential oils once refrigerated. Essential oils like lavender or tea tree oil can be added. I usually place mine in the freezer (without essential oils) and it lasts for months. Since I only use my gel once per month, I just defrost a portion and use it.
So how do I make my flaxseed gel?
These are the basic items that you will need for your gel, but you can also add essential oils if you so desire.
What you will need:
- 2 cups water
- 1/4 cup Flaxseeds
- Essential oil (optional)
- Pot
- Spoon
- bowl
- strainer or stocking
- bottle, jar, or plastic bag
Instructions:
- Pour 2 cups of water into a pot.
- Add 1/4 cup of flaxseed to the water.
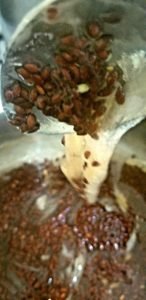
- Bring to a boil on medium heat – ensure that you stir often so that the flaxseeds don’t stick to the pot. Allow it to boil for about 8 minutes or until it gives you a gel-like egg white consistency. You can allow it to thicken up more for a stronger hold though.
- Turn off the stove and allow it to cool; leave it for about 20 to 40 minutes – the gel will thicken up during this time.
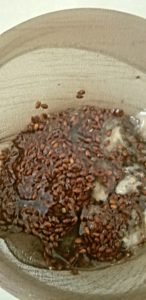
- Place the stocking over a bowl, then pour the mixture in. If your gel is on the thinner side you may use a strainer.
- Squeeze the gel out through the stocking into the bowl. This will take some effort.
- Transfer your gel into a jar or small plastic bags for portion and storage.
- Store in the refrigerator.
- Enjoy your DIY gel.


Slay those edges, slick that up-do and have fun with those re-twists. Be beautiful! Be healthy!